EN
EN English
  русский
  Español
  عربى
عربى 
Understanding WPC Wall Panels as a Building Material
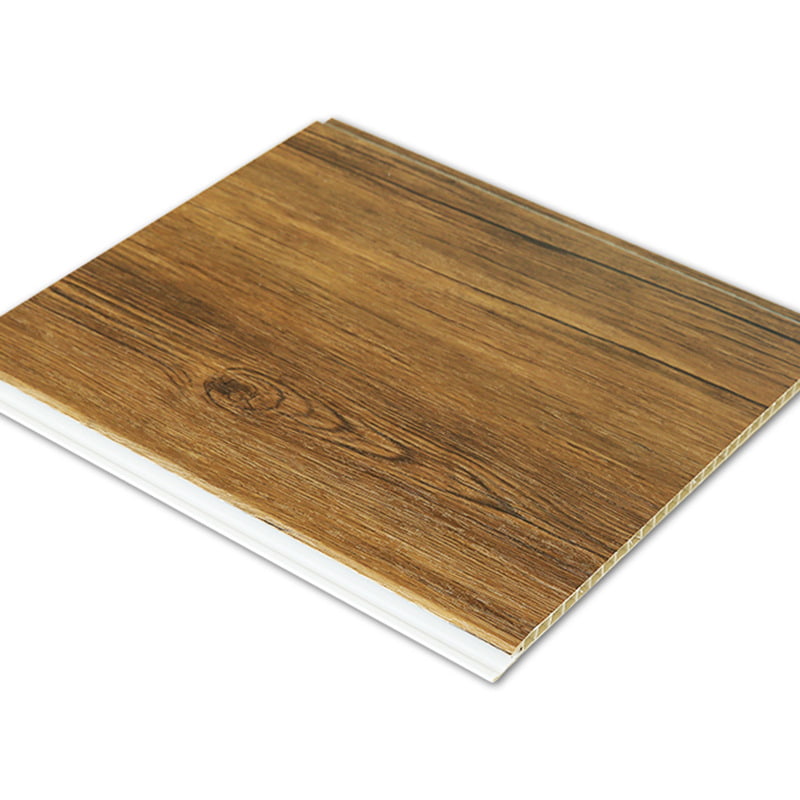
Wood-plastic composite paneling has become one of the more discussed options in both residential and commercial wall finishing. A wpc wall panel is manufactured by combining wood fiber, polymer resin, and stabilizing additives into a dense board that is then milled into decorative profiles. Unlike solid timber, this composite structure is engineered to resist moisture absorption, which directly addresses two of the most common complaints about traditional wood paneling: warping and swelling in humid conditions.
The material sits at an interesting intersection between natural aesthetics and industrial performance. Manufacturers typically blend recycled or virgin wood flour at ratios between 40 and 60 percent with polyethylene, polypropylene, or PVC resin, then add UV stabilizers and foaming agents to control density. The result is a panel that can be extruded in long, consistent lengths with tight dimensional tolerances, something that is difficult to achieve with natural wood due to grain variation.
Core Materials and Manufacturing Composition
Typical Formulation Breakdown
The performance of any panel depends heavily on its raw material ratio. Below is a representative composition range used across the industry for standard wpc wall paneling products.
| Component | Typical Range | Primary Function |
|---|---|---|
| Wood Fiber or Flour | 40 to 60 percent | Structural bulk, natural texture |
| Polymer Resin (PE, PP, PVC) | 30 to 50 percent | Moisture resistance, binding matrix |
| Foaming Agent | 1 to 3 percent | Density control, weight reduction |
| UV Stabilizer | 1 to 2 percent | Color retention under sunlight |
| Coupling Agent | 2 to 4 percent | Bonding strength between fiber and resin |
Surface Treatment Options
Co-extrusion with a protective polymer capstock layer
UV-cured coating for scratch resistance
Embossed wood-grain or fluted texture finishing
Laminated film wrapping for color and pattern customization
Laminate vs Engineered Wood vs WPC: A Technical Comparison
Choosing between laminate vs engineered wood and composite paneling often comes down to how each material performs under moisture, load, and long-term wear. The table below outlines the practical distinctions.
| Property | Laminate | Engineered Wood | WPC Panel |
|---|---|---|---|
| Core Material | Fiberboard with printed layer | Layered wood veneers | Wood fiber and polymer blend |
| Moisture Resistance | Low to moderate | Moderate | High |
| Dimensional Stability | Moderate | Moderate to high | High |
| Outdoor Suitability | Not recommended | Not recommended | Suitable with proper grade |
| Surface Repair | Difficult, requires replacement | Sandable in most cases | Panel replacement typical |
| Typical Lifespan | 10 to 15 years indoors | 20 to 25 years indoors | 15 to 25 years, indoor or outdoor |
Engineered wood retains a more authentic timber feel and can be refinished by sanding, which laminate and composite panels generally cannot. However, engineered wood remains vulnerable to prolonged moisture exposure, making it a poor candidate for bathrooms, exteriors, or high-humidity climates.
WPC Wall Panel Outdoor Applications
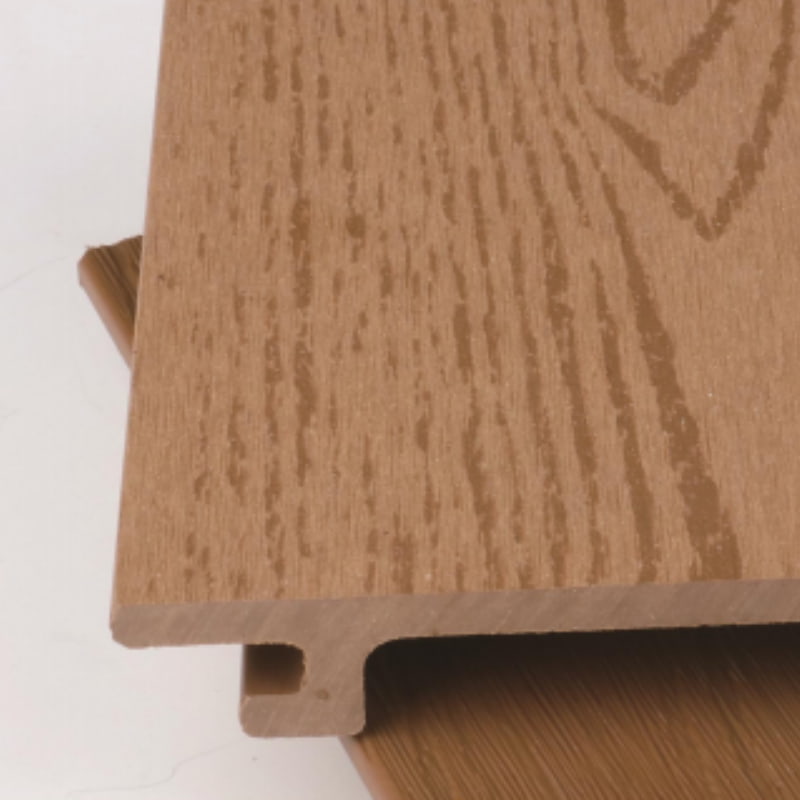
An exterior wpc wall panel is designed with a denser polymer ratio and additional UV stabilizers compared to interior-grade products. This is necessary because outdoor installations face continuous exposure to rain, temperature swings, and direct sunlight, all of which accelerate degradation in untreated materials.
Key Outdoor Performance Factors
Water absorption rate should remain below 1 percent after 24-hour immersion testing
Color fade resistance rated through accelerated UV chamber testing, typically 1000 to 2000 hours
Thermal expansion coefficient accounted for in installation gap spacing
Fire retardant additives often included for facade compliance in commercial projects
Ventilated cladding systems using outdoor wpc wall panel products are increasingly used on building facades because the air gap behind the panel allows moisture to evaporate rather than accumulate, extending the service life of both the panel and the underlying structure.
Interior Wall Panels and Indoor Use Cases
For interior wall panels, the priorities shift slightly toward acoustic performance, texture, and design flexibility rather than pure weather resistance. Common indoor applications include:
- Feature walls in living rooms and reception areas
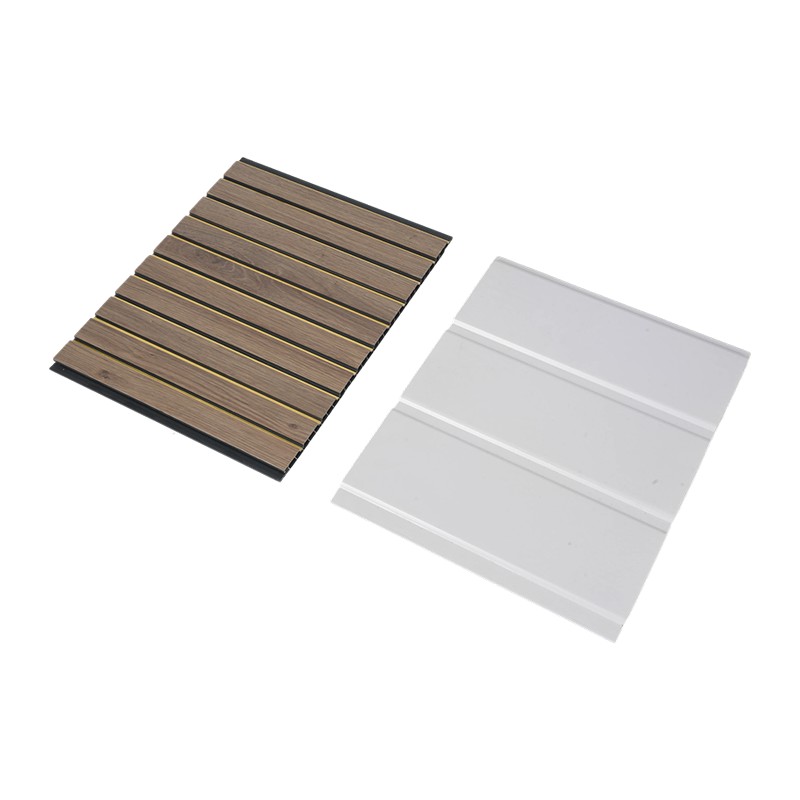
- Acoustic wall treatments in offices and studios using slatted or fluted profiles
- Bathroom and kitchen backsplashes where waterproofing is still a priority
- Hallway and staircase wainscoting as a durable alternative to painted drywall
An indoor wpc wall panel typically uses a lighter foaming density since structural load and weather resistance requirements are lower, which also reduces material cost compared to outdoor-grade versions.
Fluted and Waterproof Panel Design Variations
Fluted Profile Characteristics
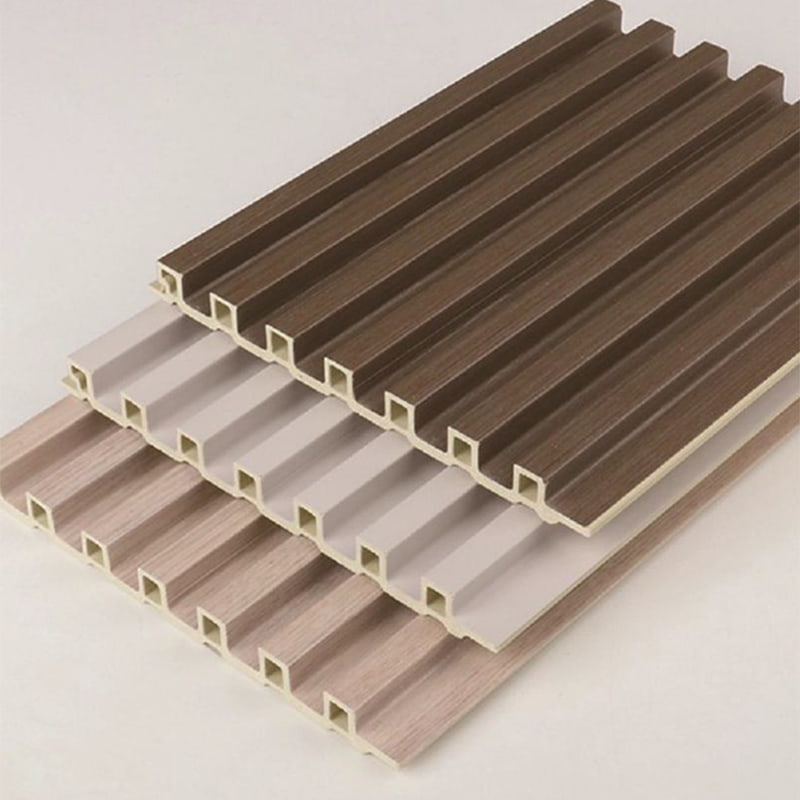
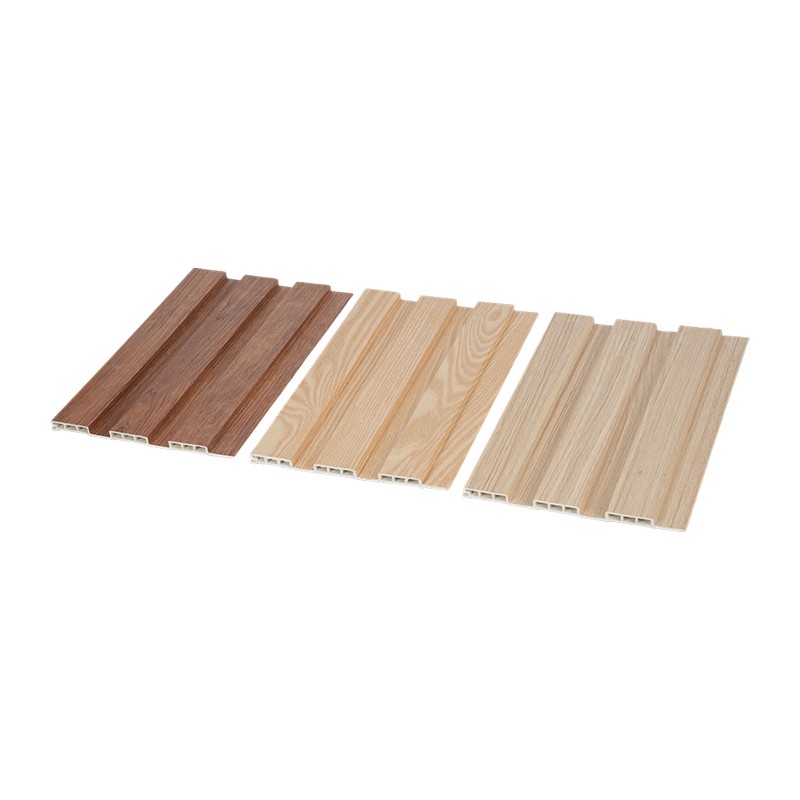
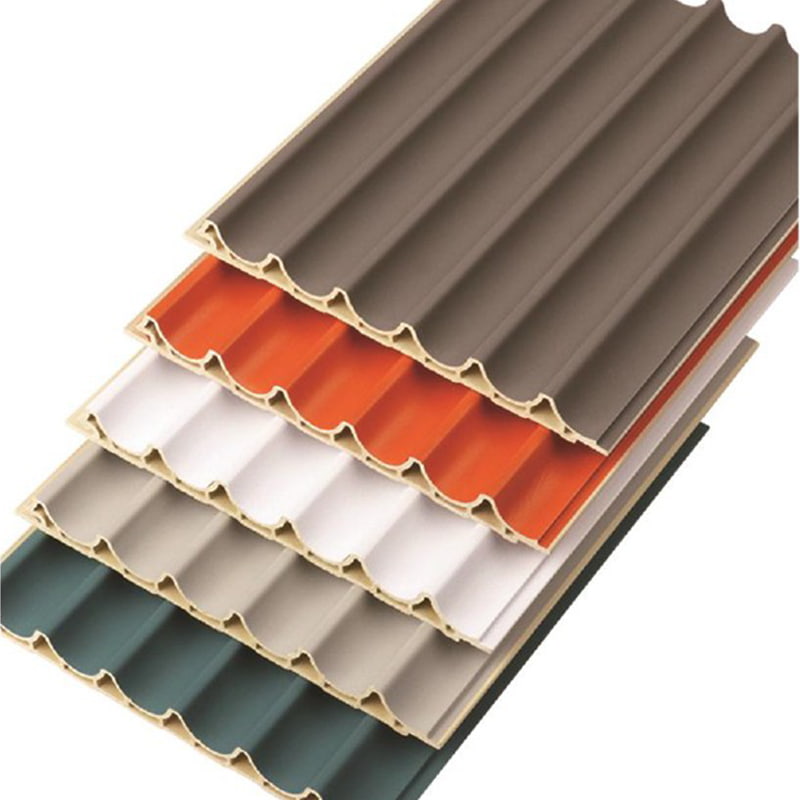
A fluted wpc wall panel features vertical grooves milled or extruded into the surface, creating shadow lines that add depth without relying on paint or wallpaper patterns. This profile has become popular for accent walls because it reads as three-dimensional under both natural and artificial lighting.
Waterproofing Mechanisms
A waterproof wpc wall panel achieves its resistance through the closed-cell structure created during extrusion, combined with a sealed capstock layer. Unlike painted wood, where water intrusion typically starts at seams or nail holes, composite panels rely on tight tongue-and-groove or click-lock joinery to prevent water from reaching the core material at connection points.
Panel Cross-Section and Installation Flow
How to Install WPC Panels Step by Step
Installation quality directly affects panel longevity, especially around moisture control and expansion allowance. The general sequence below applies to both battened and direct-mount methods.
- Inspect the wall surface for moisture sources and correct any leaks before covering the area
- Install vertical or horizontal battens spaced according to panel width, typically 400 to 600mm apart
- Leave a small expansion gap at the top and bottom of each panel run to accommodate thermal movement
- Fit the first panel into a starter track or corner trim, ensuring it sits level
- Engage the tongue-and-groove or click-lock edge of the next panel and press firmly until seated
- Repeat across the wall, checking level every three to four panels
- Finish with edge trim, corner caps, or J-channel to conceal cut ends
Common Installation Mistakes to Avoid
Skipping the expansion gap, which can cause buckling in temperature swings
Fastening panels too tightly against battens, restricting natural movement
Installing outdoor-grade panels without a ventilated air gap behind the cladding
WPC Wall Panel Price Factors
The wpc wall panel price varies based on several measurable factors rather than a single fixed rate. Understanding these variables helps in comparing quotes accurately.
| Factor | Impact on Price |
|---|---|
| Panel Thickness | Thicker panels increase material cost and rigidity |
| Surface Finish | 3D textured or laminated finishes cost more than flat matte |
| Grade (Indoor vs Outdoor) | Outdoor-grade panels cost 15 to 30 percent more due to added stabilizers |
| Profile Complexity | Fluted or grooved profiles require additional tooling |
| Order Volume | Bulk orders typically reduce per-unit cost |
Exterior Design Considerations
When planning a wpc wall panel exterior design, color consistency across batches, panel orientation, and joint visibility all influence the final appearance. Horizontal orientation tends to visually widen a facade, while vertical fluted profiles emphasize height. Mixing panel tones in a deliberate pattern can also break up large flat surfaces, reducing the monotony common in single-color cladding installations.
Maintenance and Longevity Guidance
Avoid abrasive cleaning tools that can scratch the capstock surface
Check fastener points annually for loosening caused by thermal cycling
Reseal joints in coastal or high-humidity regions every few years
Frequently Asked Questions
Q1: How to repair engineered hardwood floor scratches?
Light surface scratches can often be treated with a color-matched wood filler or repair marker, followed by light buffing. Deeper scratches that expose the base layer usually require sanding down to the veneer limit, which is only possible a limited number of times before the wear layer is too thin to refinish safely.
Q2: How much does it cost to install engineered flooring?
Installation cost depends on plank thickness, subfloor preparation needs, and labor rates in the region. Material and labor combined typically range from moderate to premium pricing tiers depending on finish quality and installation method, whether glued, floated, or nailed down.
Q3: How to install a wood PVC panel?
Most composite panels install using a batten frame or direct adhesive mounting, followed by tongue-and-groove or click-lock joining between panels. Expansion gaps and level checks throughout the process are essential for a clean, long-lasting finish.
Q4: What is the difference between hardwood and engineered wood?
Solid hardwood is milled from a single piece of timber throughout its thickness, while engineered wood consists of a thin hardwood veneer bonded over layered plywood or fiberboard. Engineered wood generally offers better dimensional stability in fluctuating humidity, while solid hardwood can be sanded and refinished more times over its lifespan.
Q5: What is the difference between laminate and engineered hardwood?
Laminate consists of a printed image layer under a protective wear layer bonded to a fiberboard core, meaning it does not contain real wood on the surface. Engineered hardwood has an actual wood veneer as its top layer, giving it a more authentic look and feel, along with the ability to be lightly refinished, which laminate cannot undergo.