EN
 English
 русский
 Español
 عربى

Why Shower Wall Panels Are Changing Bathroom Renovation
Anyone who has lived through a bathroom refit knows how disruptive wet-wall work can be. Tiling takes days, grout needs time to cure, and small errors in levelling or spacing are easy to see once the job is finished. Shower wall panels have become a practical alternative for homeowners, landlords and small installers who want a waterproof surface that looks clean without the long programme. A well-chosen PVC shower bathroom panel can transform a tired enclosure in a single weekend, provided the wall is prepared properly and the joints are sealed with care.
This guide focuses on the decisions that matter most: which panel type suits your wall, what to check before ordering, how to prepare the substrate, a realistic fitting sequence, the mistakes that cause leaks and mould, and the maintenance habits that keep the finish looking good for years.
What Are PVC Shower Bathroom Panels?
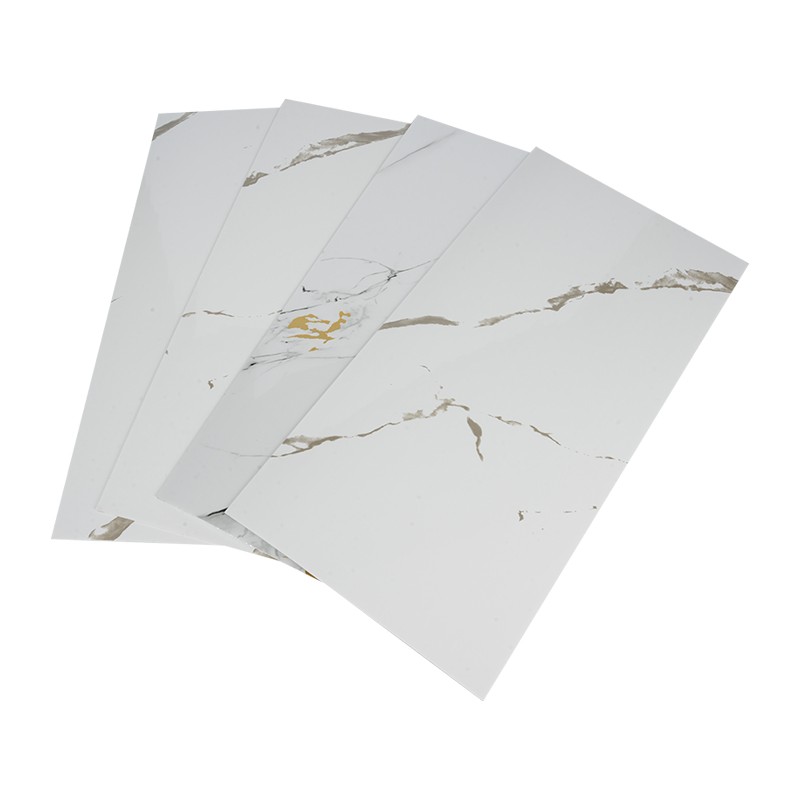
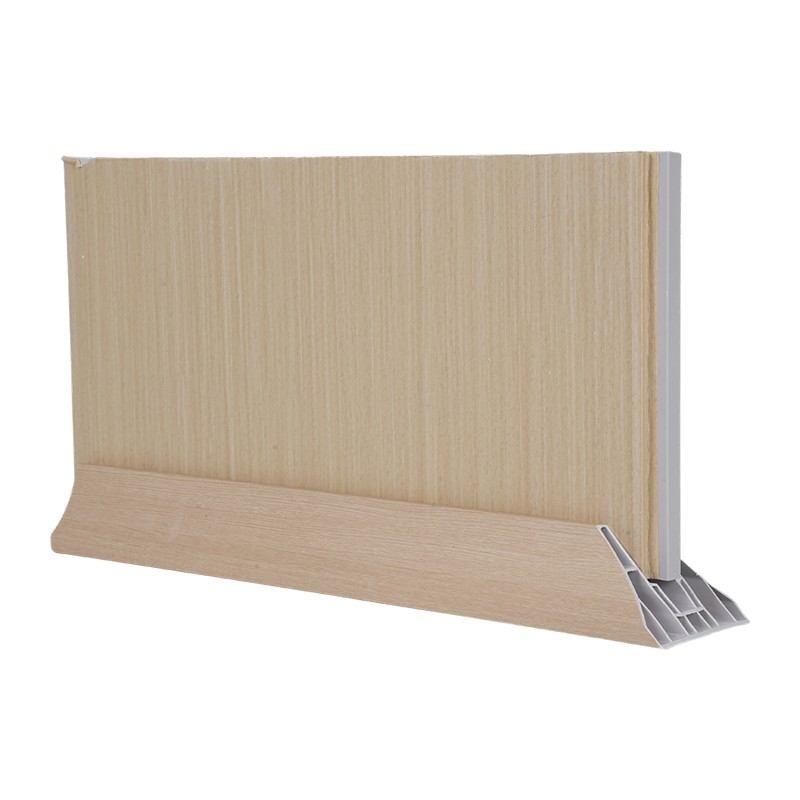
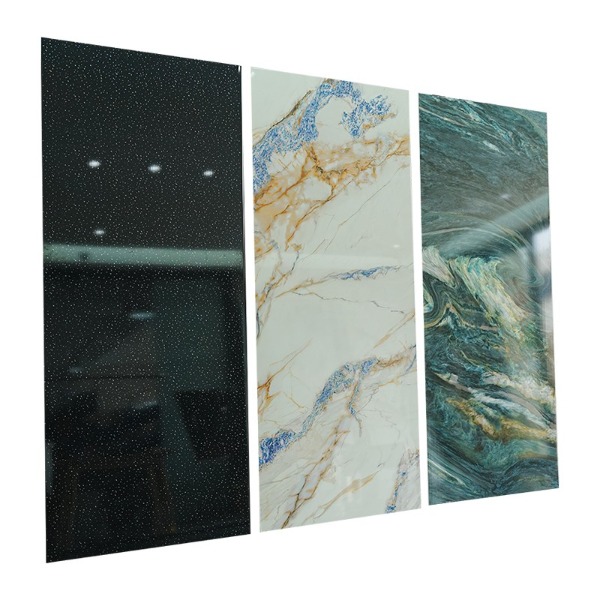
PVC shower bathroom panels are rigid, waterproof sheets made from polyvinyl chloride and designed to cover shower walls, bath surrounds and wet areas. The surface is typically printed or laminated to resemble marble, stone or a plain gloss finish, and most products interlock along the edges through a tongue-and-groove profile. Because the material does not absorb water, it can be cleaned quickly and does not need the grout lines that often trap dirt in tiled showers.
Benefits for renovation and new-build bathrooms
No grouting is required, so there are no porous lines to discolour or harbour mould.
Installation is faster than tiling, which suits rental properties and tight refurbishment timetables.
UV-protected surfaces resist fading from bathroom lighting and daylight.
The material tolerates common bathroom cleaning agents without the surface degrading quickly.
Suitable for domestic bathrooms, guest cloakrooms, holiday lets and light commercial wet rooms.
How PVC compares with other panel materials
| Material | Weight | Best suited to | Key consideration |
|---|---|---|---|
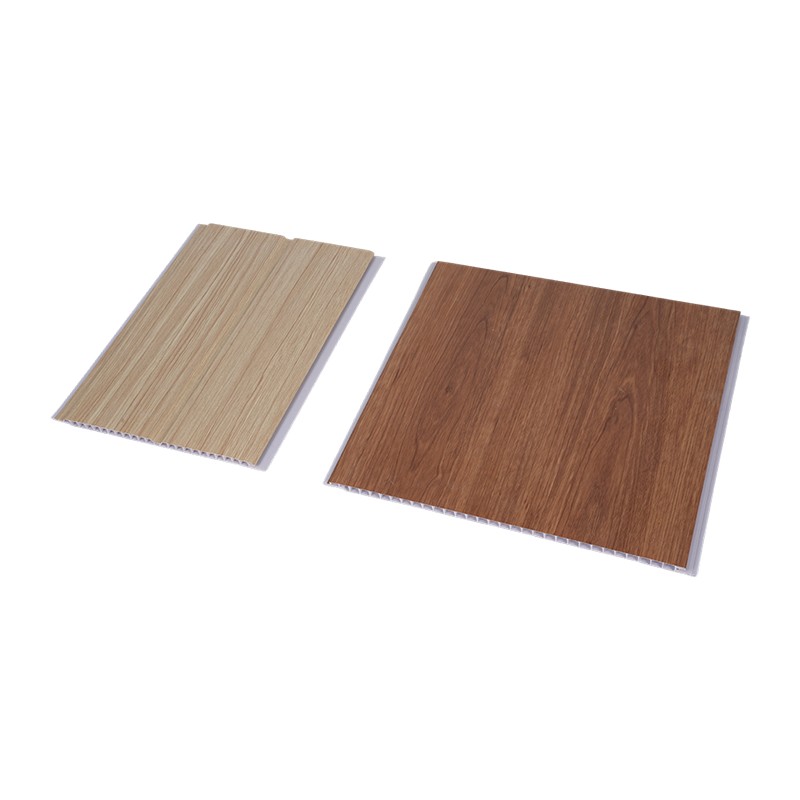
| PVC hollow-core panel | Light | Reasonably flat walls and quick DIY jobs | Easy to cut, but needs a sound substrate |
| Laminate or MDF-based panel | Medium | Solid, textured look | Cut edges must be sealed against moisture |
| Acrylic or composite panel | Heavy | Rigid, high-spec installations | Requires a stronger and flatter wall base |
Key Things to Check Before You Buy
Choosing the right panel starts with the wall you have, not the sample on the showroom board. Measure the recess at three heights, check whether the walls are square, and decide whether you need standard lengths or cut-to-size sheets. Searching for which shower panel type suits uneven walls is a common starting point, and the honest answer is that lighter, flexible sheets tolerate minor irregularity better than rigid boards, which will show every bump.
Surface finishes and why UV protection matters
Marble-effect, speckled, high-gloss and matt finishes all look convincing when they are made correctly. In UK bathrooms, where windows are often small and steam is frequent, a UV-coated surface helps the colour hold its depth over time. A high-gloss finish shows water spots more readily, so a satin or textured option may suit family bathrooms better.
Tip: If the bathroom faces north or has limited natural light, choose a finish with a lighter tone, since darker high-gloss panels can look flat under artificial lighting.
Specifications to confirm
Panel dimensions and whether custom widths are available for awkward recesses.
Thickness, which affects rigidity and how the panel responds to a slightly uneven wall.
Joint system, with tongue-and-groove profiles generally aligning more easily.
Compatibility with the existing wall, including whether the panel can be fixed over tiles.
Included trims, end caps and corner profiles, which you will need to finish exposed edges.
Typical width
Standard sheets of 2400 mm length are common, with cut-to-size options for recesses that deviate from standard dimensions.
Typical thickness
Most residential panels fall within a moderate thickness range, balancing ease of handling with a solid feel on the wall.
Preparing Your Walls Before Installation
Preparation determines how the finished wall behaves. Panels are forgiving of small surface flaws, but they cannot correct damp, crumbling plaster or a substrate that moves. Searching for how to prepare walls for shower panel installation usually reveals the same priorities: dry the wall, make it sound, and make it reasonably flat.
Check for damp and damage first
Look for black mould in the corners, bubbling or flaking filler, a musty smell, and staining around the tray or valve. Any moisture source must be resolved before panels go up, because a sealed wall will trap water inside and the damage will only surface months later.
Can you fit shower panels over existing tiles?
Often yes, but only under specific conditions. The tiles must be firmly bonded with no hollow sounds when tapped, the surface should be lightly abraded to help adhesion, and any loose or cracked tiles should be removed and the gaps made good. Where tiles are heavily uneven or popping off the wall, removal is the safer course.
| Condition | Advice |
|---|---|
| Tiles firmly bonded, lightly uneven | Suitable after abrading and cleaning the surface |
| Loose or hollow-sounding tiles | Remove and make good before fitting |
| Old, crumbling or damp plaster | Stop, treat the moisture and replace the substrate |
| Significant wall bowing | Fit battens or a backing board to create a flat plane |
Cleaning and levelling the surface
Strip old sealant, soap scum, grease and loose wallpaper completely.
Check flatness with a straight edge and spirit level, marking any high spots.
Allow the wall to dry thoroughly, ideally for several days after cleaning.
DIY Guide: How to Fit Shower Panels Step by Step
A methodical approach makes the difference between a neat enclosure and one with visible gaps. The following sequence is typical for most residential recesses, though you should always follow the manufacturer's instructions for adhesive, expansion gaps and cure times. Those who ask can I fit shower panels myself as a DIYer will find the work manageable if they are patient with measuring and sealing.
Tools and materials you will need
Measuring and planning the layout
Bathroom walls are rarely perfectly square, so measure at the top, middle and bottom of each wall and work to the smallest dimension. Dry-fit the panels before applying any adhesive, and avoid ending a run with a very narrow strip in a corner, which looks awkward and is hard to seal. Mark the positions of valves and outlets, then measure again before cutting.
Step-by-step fitting process
Cut the panels to size. Cut from the back with the decorative face down to reduce chipping, and leave clearance around pipework. Smooth any rough edges.
Dry-fit before adhesive. Arrange the panels in order, confirm the fit at each joint and check the openings for valves and outlets.
Apply panel adhesive. Use a zigzag or vertical bead pattern, and keep adhesive back from the edges so it does not squeeze into the joints.
Fix the first panel and check it is plumb. Use a spirit level, and leave the top and bottom expansion gaps that the manufacturer specifies.
Join the remaining panels. Engage the tongue-and-groove edges gently. Avoid hammering, which can damage the interlock.
Fit trims and end profiles. These conceal expansion gaps and protect exposed edges.
Sealing joints for a watertight finish
Sealing is where most leaks begin or end. Choose a bathroom-grade anti-mould silicone rather than a general-purpose sealant, mask both sides of each joint for a clean line, and smooth the bead with a soapy finger before the skin forms. Remove the masking tape while the sealant is still workable.
Important: Do not use the shower until the sealant has fully cured, usually at least 24 hours. Early use is one of the most common causes of joint leaks and surface mould.
Common Mistakes to Avoid When Fitting Shower Panels
Most problems with panelled showers trace back to a handful of avoidable errors. Searching for common mistakes when fitting shower panels points to the same list again and again, and each item is worth checking before you start.
Fixing panels to a damp wall, which traps moisture behind the surface.
Skipping the dry-fit and discovering cutting errors only after the adhesive has set.
Measuring at a single point and ignoring the wall's natural irregularity.
Using the wrong adhesive or a non-mould-resistant sealant.
Ignoring the expansion gaps the manufacturer requires, which can cause buckling as temperatures change.
Turning on the shower before the sealant has cured.
Maintenance Tips for Long-Lasting Panels
Good maintenance is simple but consistent. Wiping down the surface after showering, and checking the seals every few months, will extend the life of the installation far beyond what most people expect. Learning how to maintain and clean shower wall panels is largely a matter of using the right materials and paying attention to the joints.
Daily cleaning
Use a soft cloth with a mild, neutral cleaner. Avoid abrasive pads, strong solvents and harsh scouring powders, which can scratch the protective UV layer.
Moisture control
Ventilate the room, use an extractor fan where possible, and wipe down standing water. Do not leave the surface wet for long periods.
Routine sealant checks
Look for cracking, lifting, discolouration or gaps. Re-sealing early is far cheaper than repairing water damage behind the panels.
Edge inspection
Check trims and corners for looseness or impact damage, and tighten or replace components as needed.
Should You DIY or Hire a Professional?
Whether to do the work yourself depends on the condition of the wall, the complexity of the pipework and your comfort with precise measuring. A straightforward recess with sound, reasonably flat walls is well within reach of a careful homeowner. Other situations justify a professional installer, particularly where the work touches plumbing or electrics.
| Situation | Recommended route |
|---|---|
| Flat walls, simple recess, no pipe changes | Suitable for DIY with careful measuring |
| Badly bowed walls or hidden damp | Professional assessment advised |
| Pipework or valve relocation | Use a qualified plumber |
| Electrical work such as new extractor or lighting | Use a registered electrician, as bathroom electrical work must be carried out by a competent person |
Frequently Asked Questions
Q1: Are PVC shower bathroom panels suitable for UK bathrooms?
Yes. The material is waterproof, resists UV fading and is low maintenance, which suits the humid conditions typical of many British bathrooms when the installation is sealed correctly.
Q2: Can shower panels be fitted over old tiles?
Sometimes. The tiles must be firmly bonded and properly prepared. Loose or heavily uneven tiles should be removed before any panels go up.
Q3: Do PVC shower panels need grout?
No. The joints are closed with bathroom silicone sealant, so there is no grout to maintain or clean.
Q4: What sealant should be used with shower wall panels?
Use a high-quality anti-mould silicone designed for wet areas, and allow it to cure fully before the shower is used.
Q5: How long do PVC shower panels last?
With careful preparation, correct sealing and regular checks, a well-fitted installation can provide many years of reliable service.
Final Thoughts
PVC shower wall panels offer a practical, waterproof route to a refreshed bathroom. Success depends on four things: a dry and sound wall, accurate measuring and dry-fitting, careful sealing with the right product, and steady maintenance afterwards. Get those right and the result is a clean, durable enclosure that is simple to live with.