EN
EN English
  русский
  Español
  عربى
عربى 
Why Fixing Details Decide the Final Look of a Wall Project
Visible fasteners, panels that lift at the edges, and seams that open after one winter are usually blamed on the panel material. In practice the cause is often the fixing system. When a project is planned around panel color and profile while the clip is treated as an afterthought, the problems tend to show up on the wall within a few months. This guide explains how a stainless steel hidden wall panel mounting clip works, where it fits, and how to specify and install it so the finished surface stays flat and clean.
The guide is written for contractors, interior designers, distributors, and project buyers who need a practical reference. It covers the basic structure, material choices, compatibility with common panel types, step by step installation, spacing for thermal movement, joint design, maintenance, and a short sourcing checklist. Where a number is given, it is a typical planning value that should be checked against the panel manufacturer's own instructions.
Planning rule: choose the fixing system before finalizing the panel profile, because clip spacing and substrate depth both affect the layout of the whole wall.
What a Hidden Mounting Clip Does Inside a Wall Panel System
Basic structure and role
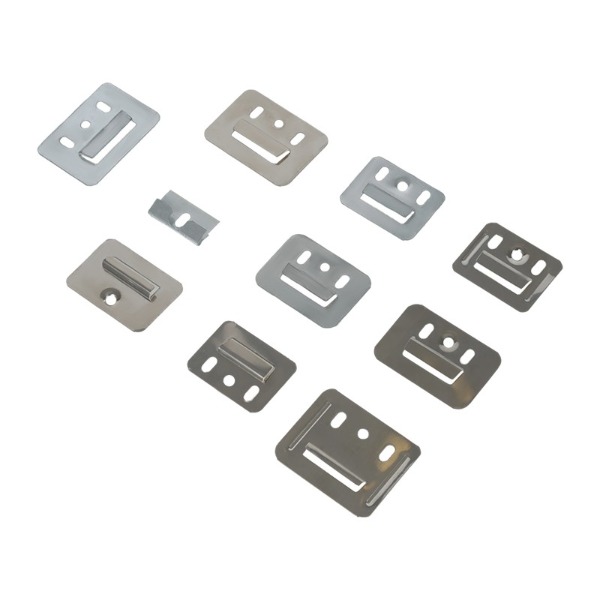
A concealed clip is a small metal fitting that attaches to the wall framework or substrate and holds the edge of a panel in a groove or lip. Because the connection happens behind the panel, the visible surface shows only the joint lines. The clip carries the panel weight and resists pull away forces from people leaning on the wall or from nearby movement in the building.
Key advantages
- Clean face: no screw heads or cover caps are visible, so the surface reads as one continuous plane.
- Stable material: stainless steel keeps its shape under repeated load and resists rust in ordinary humidity.
- Adjustable layout: clips can be repositioned along the furring line to match panel length and joint location.
- Easier repair: a single panel can often be released and reseated without damaging its neighbors.
Typical specification snapshot
| Parameter | Typical value or note |
|---|---|
| Material | Stainless steel, grade selected for the site environment |
| Reference size | About 38 by 48 mm |
| Fixing method | Concealed, interlocking with the panel edge |
| Suitable panels | PVC, WPC, and composite decorative boards |
| Typical use | Interior walls, partitions, and cladding |
Stainless Steel Versus Other Clip Materials
Material selection changes how a clip behaves over the life of the wall. Interior projects often assume that any metal will do, but humidity, temperature cycling, and cleaning products all act on the fixing over time. The comparison below reflects general industry observations rather than laboratory certification, so it should be used as a starting point for specification.
| Material | Corrosion resistance | Stiffness under load | Typical application |
|---|---|---|---|
| Stainless steel | High, especially in humid rooms | High, holds shape under load | Commercial and long-life interiors |
| Plastic | Very high | Low to moderate, can creep over time | Light residential or temporary fit-out |
| Coated carbon steel | Moderate, depends on coating integrity | High when new | Dry indoor areas with short service life |
| Aluminum | Good | Moderate, lighter but less rigid | Lightweight panels with low load |
On site, clips rarely fail in a single dramatic event. They loosen in small steps when a panel joint opens, the substrate moves, or a bracket bends slightly during handling. Stainless steel tends to hold its geometry through these small stresses, which is why commercial projects often specify it even when the panel itself is inexpensive.
Specification tip: near kitchens, pool areas, or corridors that receive frequent cleaning, request a clip grade and finish that match the cleaning routine, not only the panel color.
Which Wall Panel Systems Work With Hidden Clips
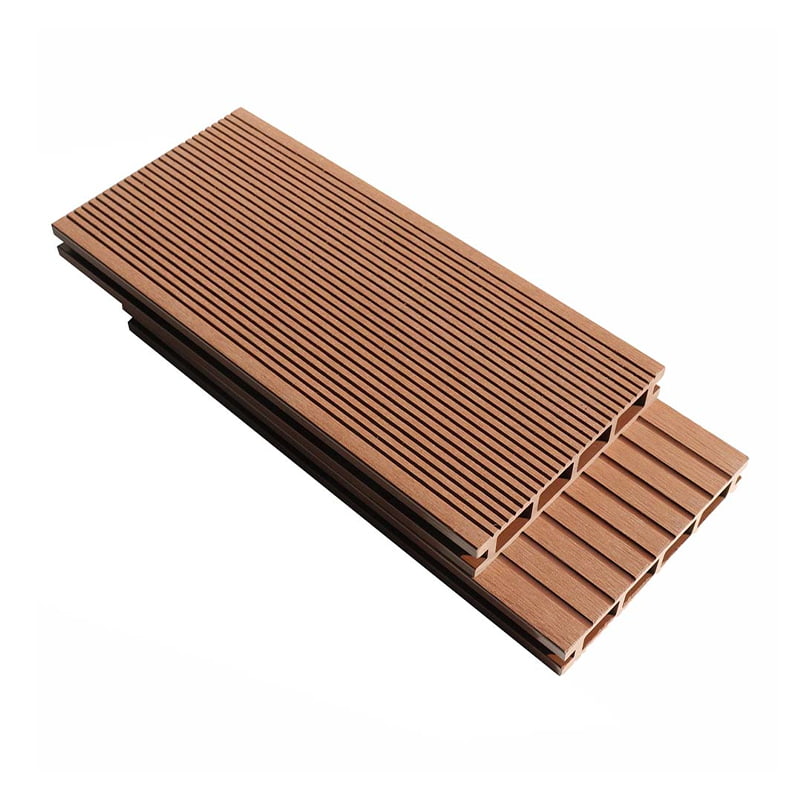
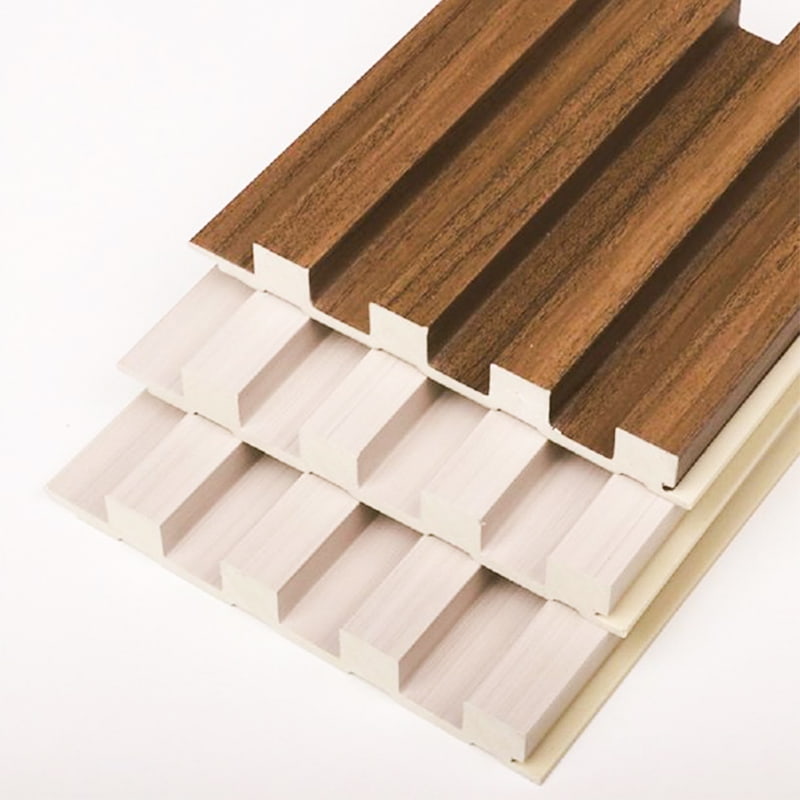
Hidden clips are most useful with panels whose edge profile is designed to interlock or to receive a clip. Three families are common in the market, and each has its own requirements. The checks below apply to PVC wall panels, WPC wall panels, and composite decorative boards, which together cover most interior cladding projects that use concealed fixing.
PVC wall panels
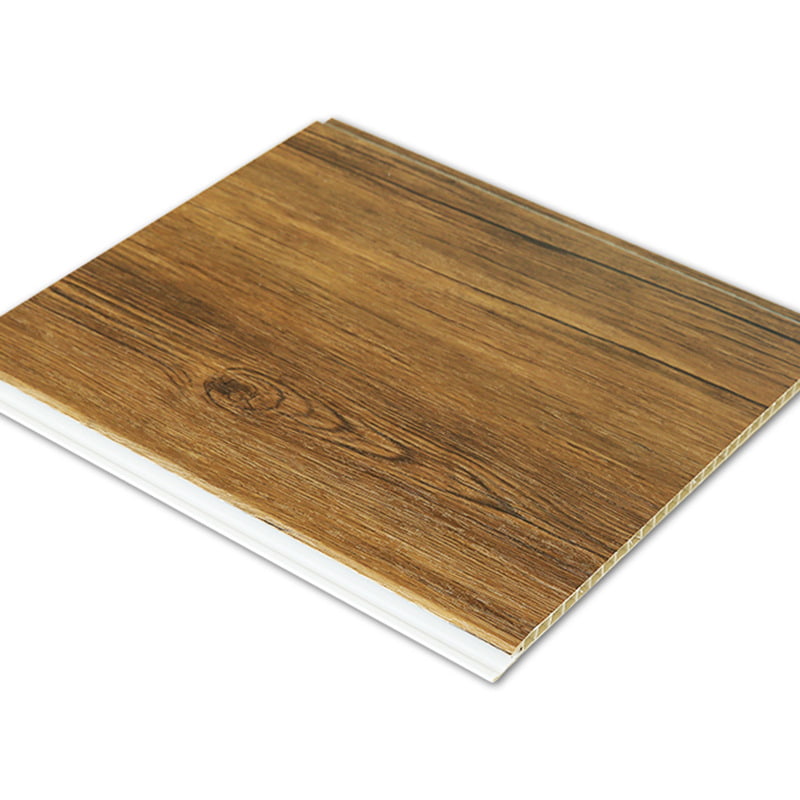
Rigid PVC panels typically have a tongue and groove profile. The clip sits in the back of the groove and the next panel locks over it. Because PVC has relatively low stiffness, clip spacing should be tighter near the panel ends to avoid bowing in the middle of long boards.
WPC wall panels
Wood plastic composite panels are heavier and respond more strongly to humidity than PVC. The clip needs enough slot length to let the panel move without rattling. Many teams choose a clip with a small amount of adjustment so the joint can be aligned after the first few boards are fixed.
Composite decorative boards
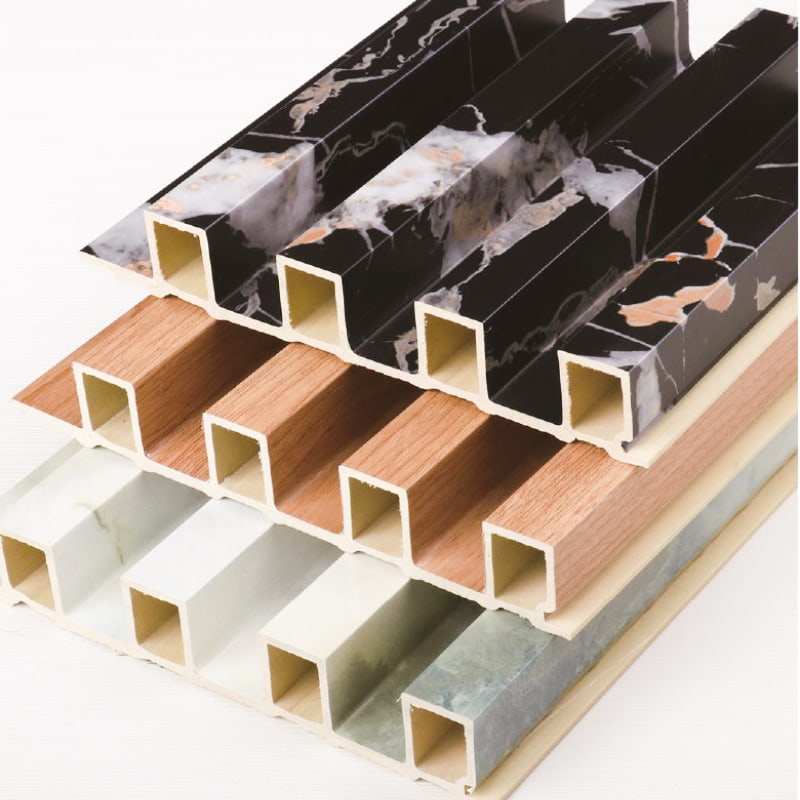
Composite boards may have a thicker back or a wider edge lip. Confirm the lip thickness and groove depth before ordering. A clip that is too shallow will hold the board loosely, while one that is too deep can prevent full seating. Check these dimensions against a physical sample rather than a drawing alone.
Compatibility checklist
Confirm that the groove or lip depth matches the clip head.
Check the panel weight against the number of clip points per square meter.
Verify that the substrate is flat within the tolerance stated by the panel maker.
Allow a joint width that accommodates the expected movement of the panel.
Hidden clip or visible fastener
A visible fastener may still be acceptable in service corridors, storage rooms, or temporary fit-outs. In hotel rooms, offices, and other public spaces where the surface is judged by appearance, a wall panel mounting clip that conceals the fixing usually produces a more finished result. Weigh the cost of exposed screws against the cost of refinishing a damaged surface later.
Installation Workflow From Layout to Finish
A reliable installation depends on sequence. Most problems that appear after completion trace back to skipping the layout stage or fixing panels before the substrate has been checked. The steps below describe a general workflow. Where the panel manufacturer's instructions differ, follow the manufacturer.
Tools and materials
Laser or spirit level, chalk line, and measuring tape
Drill with correct bits for the substrate type
Rubber mallet or soft block for seating panels without edge damage
Spacers for the planned expansion gaps and matching trims
- Mark the layout and furring lines on the wall, starting from the most visible wall.
- Fix the clips onto the substrate at the planned spacing, checking alignment with a level.
- Seat the first panel into the clips, pressing the edge until it engages fully.
- Install the following panels in sequence while keeping the joint width consistent.
- Check horizontal and vertical alignment at each course and record any drift.
- Leave the expansion gaps specified for the room and finish with the trims.
Pre-installation checks
Before the first clip is fixed, store the panels in the room for at least 48 hours so they reach the ambient temperature and humidity. Inspect each board for bow, twist, and edge damage. Set aside any board that does not sit flat on a straight edge, because one bent board will push the whole run out of line.
How Thermal Movement Shapes Clip Spacing
Panels change length as temperature and humidity change. The movement is small on any single board, but it adds up across a long wall, and it is the main reason joints open, close, or buckle. A hidden clip system must allow for this movement rather than resist it. Two practical rules help: keep each panel free to move at its ends, and place clips so that movement is absorbed at the joints.
- 3 to 5 mm
Typical planning range for end expansion gaps in many interior projects - Around 300 mm
Common clip spacing reference, adjusted for panel weight and profile - Both ends
Movement must be allowed at each end of a long run
Consider a wall about 3 meters long. If the room temperature rises noticeably during the day and the end gaps are too small, the panels have nowhere to go, and the joints may visibly close or push outward. The easiest way to avoid this is to leave the planned gap, hide it with a suitable trim, and avoid fixing the last board tight against a corner.
Spacing principles
Place clips closer together near the panel ends, where stress is highest.
Keep each clip fully inside its groove so the panel can slide slightly.
Avoid placing a clip directly over a substrate joint or a gap in the framing.
Designing Joints and Surface Details
Joint design is where a hidden system shows its finish. A narrow, even joint reads as a deliberate line, while uneven joints draw the eye to every small misalignment. Decide the joint width at the design stage and keep it consistent across the wall, so that corners, door frames, and ceiling lines meet cleanly.
Joint width and shadow lines
Many designers choose a joint wide enough to produce a soft shadow line and to absorb movement. The right width depends on the panel edge and the lighting. Strong side lighting makes uneven joints more visible, so test the joint under the actual fixtures before confirming the layout.
Trims and terminations
Corners, ceilings, and floor edges need trims that hide the expansion gap and provide a neat stop for the panel. Select trims that match the panel finish and allow the panel to slide within its channel. Avoid rigid trims that lock the panel at both ends.
A simple test: stand at the room entrance and check whether any joint line looks wavy. If it does, adjust the layout before the final fixing.
Common Installation Mistakes and How to Prevent Them
Most failures seen on site come from a small group of errors. The table below lists each mistake, the usual result, and the prevention step that works.
| Mistake | Typical result | Prevention |
|---|---|---|
| Clip spacing too wide | Panel sags or bows between clips | Follow the planned spacing and check with a line |
| No expansion gap | Joints buckle in warm weather | Leave the gap at each end and use matching trims |
| Uneven furring | Panels rock and seams open | Level and flatten the substrate before fixing clips |
| Forcing a panel into place | Broken edge or cracked lip | Seat the panel with a soft block and steady pressure |
| Skipping the sample test | Clip fits the wrong groove | Test one board on site before the full order |
A useful habit is to keep a short log during installation. Recording clip spacing, gap size, and the substrate check for each wall makes it easier to trace a later problem and to repeat a good result on the next project.
Where Hidden Clip Systems Perform Best
Concealed fixing suits projects where the finished surface matters and where the building will be used intensively. The scenarios below show where the system tends to earn its place.
Residential interiors
Living rooms, bedrooms, and hallways benefit from a clean surface and a quiet installation. Homeowners usually notice the difference most on feature walls, where the joint pattern is visible from the sofa or the bed.
Hotels and offices
Public areas receive heavy use, frequent cleaning, and close inspection. Consider a typical office refit of about 600 square meters. The installer planned the layout around the corridors and reception, used concealed clips on the feature walls, and reserved visible fasteners only for a back of house storage room. The result was fewer surface repairs in the first year, although outcomes will vary with each site.
Retail and commercial interiors
Retail spaces change often. Hidden systems allow panels to be removed and refitted, which helps when a store refreshes its look without a full demolition.
Cleaning and Long-Term Care
A concealed system needs little routine maintenance, but a few habits keep the surface uniform for years.
Dust with a soft cloth or microfiber mop rather than abrasive pads.
Use a mild, neutral cleaner and wipe with a damp cloth so no residue collects in the joints.
Inspect the joint lines twice a year for any opening or lifting at the edges.
Keep heavy furniture from pressing against a single panel for long periods.
If a panel does need replacing, keep spare boards from the same batch and note the clip positions. Matching batches reduce color variation, and a clear record makes the repair faster and less disruptive.
Sourcing Checklist for Project Buyers
Buyers comparing suppliers often find that specifications are the clearest way to separate a sound offer from a risky one. The checklist below can be used in a request for quotation or during a technical review.
- Ask for the clip dimensions, material grade, and a drawing that shows how the clip fits the groove or lip.
- Request a sample set and test it on a board from the same production batch as the planned order.
- Confirm that the panel type and the clip type are compatible, not only the panel width.
- Check packaging, labeling, and the number of clips per carton to plan site logistics.
- Ask whether clip size or panel profile can be adjusted for your project and how long that takes.
- Agree in writing on tolerances for substrate flatness and joint width.
Wholesale buyers should also confirm lead times for repeat orders, since a mismatch between clip batches can interrupt a long installation.
Frequently Asked Questions
Q1: What wall panels can be fixed with a stainless steel hidden wall panel mounting clip?
It is designed for PVC wall panels, WPC wall panels, composite decorative boards, and other concealed fixing wall systems with a compatible edge profile. Confirm the groove or lip fit with a sample before ordering.
Q2: What is the reference size of this type of clip?
The reference size is about 38 by 48 mm. Final dimensions should be checked against the panel profile and the substrate depth.
Q3: Can clip spacing be adjusted during installation?
Yes. Spacing and position are normally set from the panel layout and framing conditions, and small adjustments are common during the first few courses.
Q4: Are stainless steel clips better than plastic clips?
Stainless steel offers better stiffness and corrosion resistance in humid or high-use spaces. Plastic can be enough for light, temporary, or low-humidity residential work.
Q5: How much expansion gap should be left at panel ends?
Planning values often fall in the range of 3 to 5 mm, but the panel manufacturer's guidance and the room conditions should always take priority.
Q6: Can a single panel be replaced without removing the whole wall?
In many systems a single panel can be released and reseated, but this depends on the panel profile and how the adjacent boards are locked. Test the procedure on a sample section first.
Conclusion: Specify the Fixing System Together With the Panel
A hidden fixing system is only as good as its match with the panel, the substrate, and the environment. Checking compatibility with PVC, WPC, or composite boards, planning spacing for thermal movement, and designing the joints carefully are the steps that protect the finished wall for years. Work through the layout and sample checks before the first panel is fixed, and the surface will reflect that care.
For a project that needs a dependable concealed fixing clip, review the product details, then share your panel profile and site conditions when requesting a quotation so the match can be checked before ordering.